
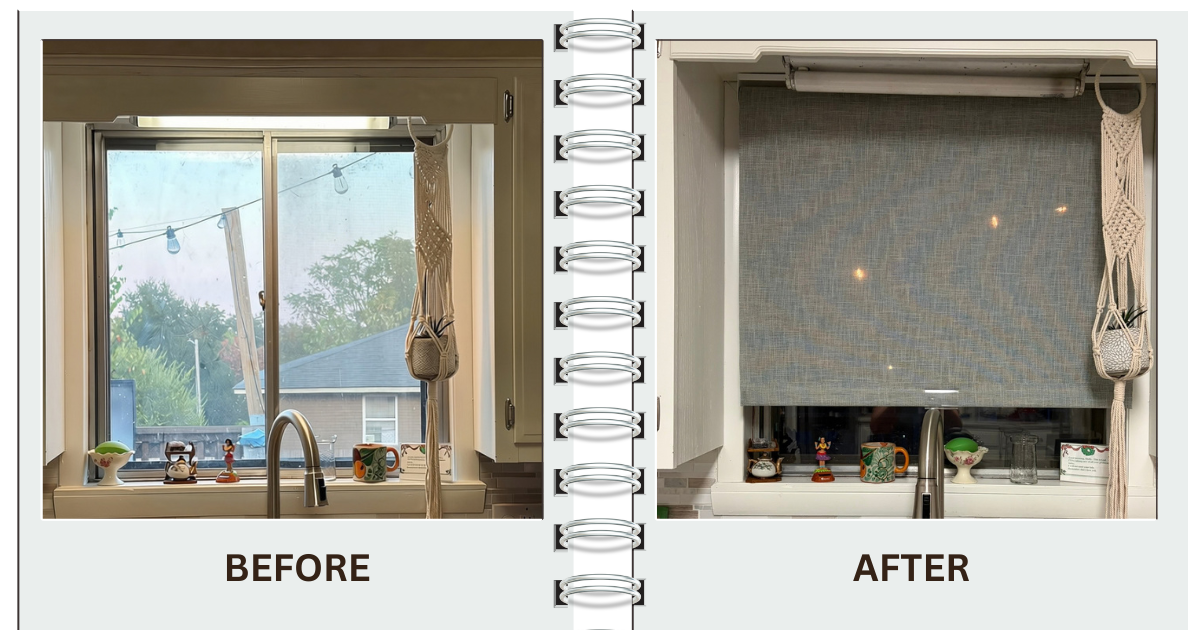
To install a cordless roller shade, measure the inside width at the top, middle and bottom, use flat head screws sized for your frame, mount the brackets 5 to 6 inches from each side, and set their depth so the headrail snaps in cleanly. The whole job took us about 30 minutes for one kitchen window.
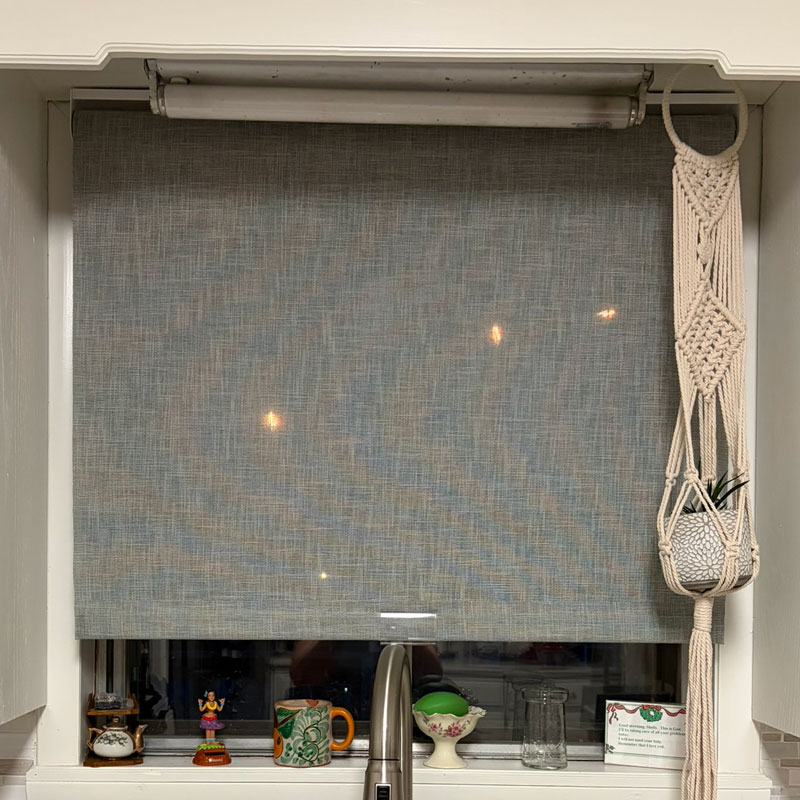
I recently put a new cordless roller shade in my own kitchen window, and like most projects, it went smoothly right up until it didn't. Here's what I ordered, what I'd tell anyone ordering one, and the few things that made the install easier.
What I Ordered
- Fabric: Phifer SheerWeave 7850, a light filtering linen look, in Aspen (a soft gray)
- Size: 35¼" wide x 35" long, inside mount
- Control: Cordless
A kitchen window gets a lot of sun and a lot of looking out, so I wanted something that softens the light without blacking out the room. If you want the same linen look in a room-darkening version, SheerWeave 7800 is the blackout version of this fabric.
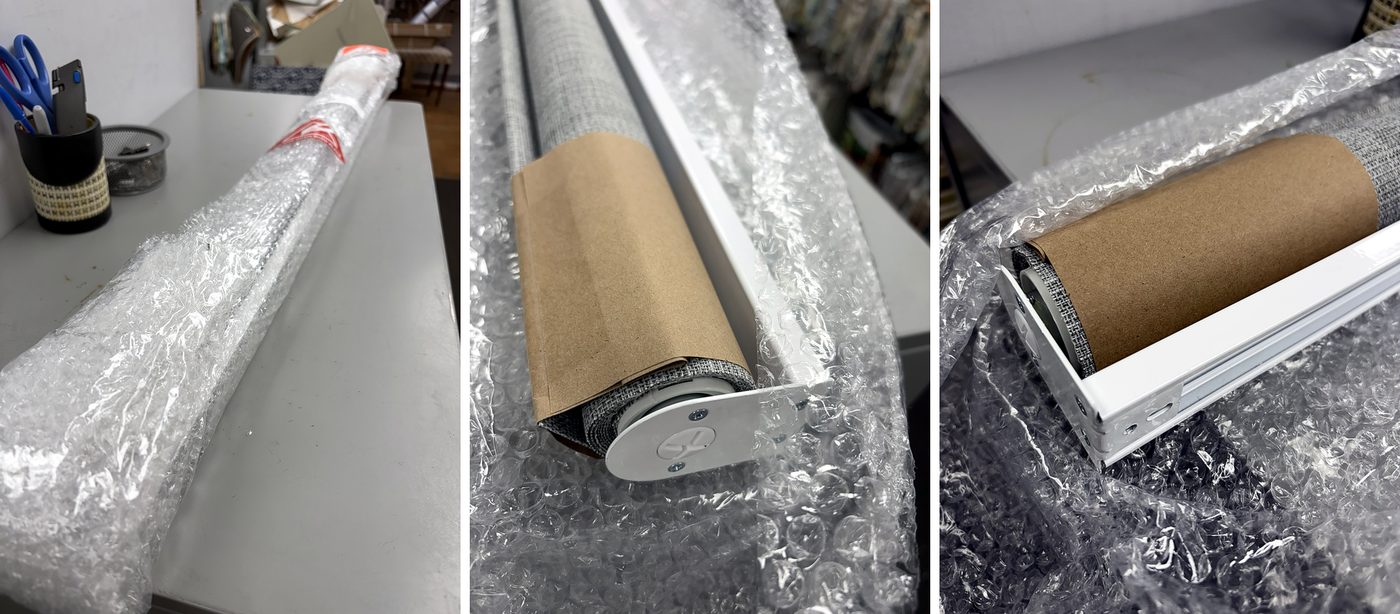
It arrived well packed: the fabric rolled and wrapped in kraft paper, the headrail and end caps already attached, and the brackets bagged separately. Leave the paper on until the shade is hung so the fabric stays clean.
Tips for Ordering a Cordless Roller Shade
1. Measure the Width Three Times
For an inside mount, measure the width inside the window frame at the top, middle and bottom. Windows are rarely square, especially in older houses. Use the narrowest measurement.
- Tip: The top measurement matters most, because that's where the brackets go. If the top is off, the shade won't fit.
- Tip: Give us the exact inside width to the nearest ⅛". Don't take anything off yourself.
2. Don't Stress Over the Length
The length doesn't have to be nearly as precise. Roller shades come with plenty of extra fabric on the roll, so measure from the top of the frame to the sill and you're covered.
3. Choose Light Filtering or Blackout
Light filtering fabrics like SheerWeave 7850 soften glare and keep the room bright. Blackout fabrics block the light for bedrooms and media rooms. Browse all of our Phifer SheerWeave roller shades to compare openness and styles, and order a sample if you're torn.
4. Ask for Cordless
Cordless shades have no chain or cord hanging down, which looks cleaner and is safer around kids and pets. You just grab the clear tab on the bottom rail and pull it down or nudge it up. Give us a call at 1-800-590-5844 to add the cordless option to your order.
How to Install a Cordless Roller Shade
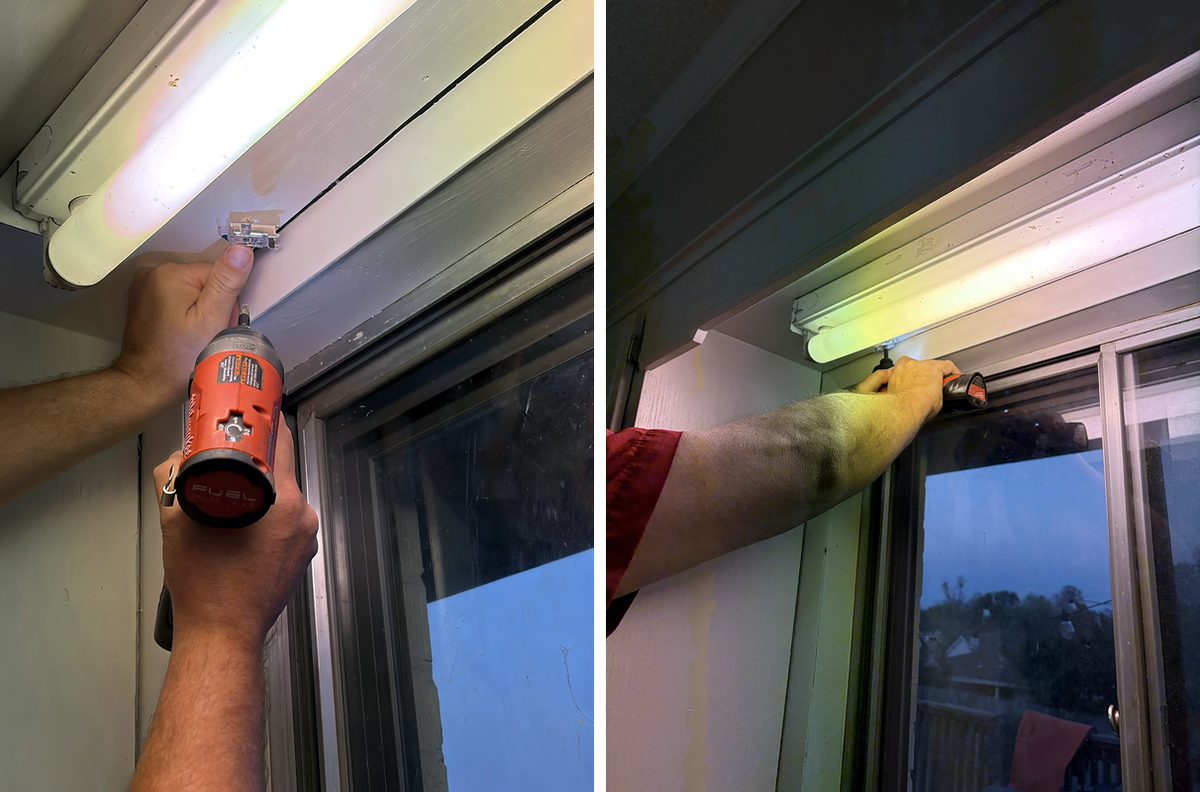
What you'll need: tape measure, pencil, painter's tape, drill, screwdriver and screws. Screws aren't included with our roller shades, because the right screw depends on your window.
1. Choose the Right Screws
- Use flat head screws, not bugle head. Flat heads sit flush against the bracket, and that matters when the headrail has to snap in over them.
- Solid wood frame in an older house: use shorter screws so you don't split the wood.
- Drywall over studs: use longer screws so they reach the stud.
- Check the fit: make sure each screw head sits flush on the metal bracket, not on the plastic.
2. Mark the Bracket Locations
Place the brackets about 5 to 6 inches in from each side of the window. That spacing makes the shade easier to snap in and keeps it balanced.
- Depth: Measure from the back of the window frame (where ours meets the metal window) toward the front to set how far forward the brackets sit. We aimed for the middle of the frame.
- Tip: Put a strip of painter's tape where each bracket goes and mark your drill holes on the tape. It's easier to see than pencil on wood, and it peels right off.
3. Pre-Drill and Mount the Brackets
Drill a small pilot hole at each mark, then screw the brackets into the top of the frame. Pre-drilling is the other half of not splitting an older wood frame.
4. Snap In the Headrail and Adjust
This is the part that gave us trouble. Our headrail did not want to snap in. The fix: we loosened the screws and scooted the brackets forward a bit. The bracket has a little room in its slot, and that did the trick.
- Tip: Snug the screws, test the fit, then tighten them all the way. It's a lot easier than backing them out later.
Rules of Thumb
- The width is the measurement that matters. Measure it three times.
- Flat head screws, sized for your frame.
- Brackets 5 to 6 inches from each side.
- Snug first, test the headrail, then tighten.
- Plan on about 30 minutes, including hunting down the tape measure.
Not sure about your measurements? Send them to us, or call 1-800-590-5844, and we'll double-check them before your shade is made. You can also download our roller shade installation instructions.
Common Questions
How do I measure for an inside mount roller shade?
Measure the width inside the window frame at the top, middle and bottom, and use the narrowest measurement. The top measurement matters most because that is where the brackets go. Give us the exact width and we take care of the clearance. The length does not have to be as precise, because roller shades come with extra fabric on the roll.
What screws do I use to install a roller shade?
Use flat head screws so the heads sit flush against the bracket. Screws are not included with our roller shades because the right length depends on your window. Use shorter screws in an older solid wood frame so the wood doesn't split, and longer screws if you are mounting through drywall into a stud.
How long does it take to install a roller shade?
About 30 minutes for one inside mount shade, including gathering your tape measure, pencil, painter's tape, drill and screwdriver.