Fabric Blinds Curtain Rods Window Treatments Trims & Tassels Wallpaper
1-800-590-5844
How To Silk Dye Easter Eggs
Don't you love all the fun ways to color Easter eggs? If you are like me, I have pinned a bunch of ideas on Pinterest. This week Emery and I decided to try out the silk dyed eggs. We followed the video from Martha Stewart's website. Our eggs turned out beautifully and my daughter absolutely loved unwrapping the eggs to see the surprise colors.
Can you eat silk dyed Easter eggs? No, the dye is not food safe.
From reading several sources, leaving them on display a few days will be just fine.
Where do you get silk fabric scraps? Old silk ties, boxers or blouses. You can also check with your local fabric store to see if they have a discontinued silk fabric book like we used.
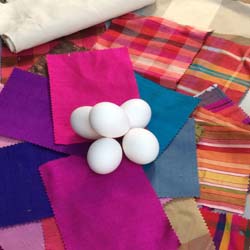
Gather Supplies
Silk Fabric Scraps
Scissors
White Cotton Fabric (old sheets or undershirts)
Vinegar
Rubber Bands or Twist Ties
Raw Eggs (small or medium are best)
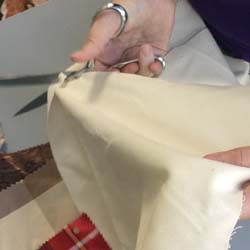
Step 1. Cut silk and cotton fabrics into squares - about 6-8" square.
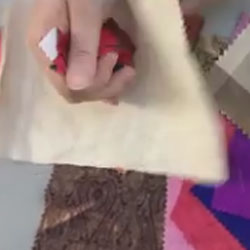
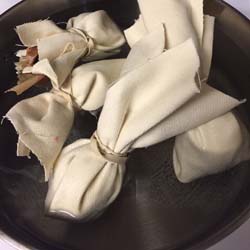
Step 2. Wrap egg tightly with right side of silk touching egg. Then wrap with white cotton and use rubber band or twist tie to close. Twist ties get the tightest closure.
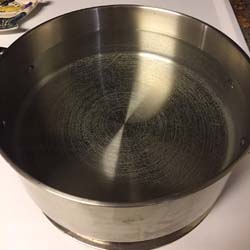
Step 3. Fill a large pot with water. Glass or enamel was recommended but my metal pan did just fine.
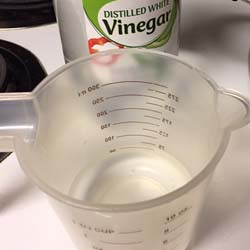
Step 4. Add 1/4 cup of vinegar (or more) to water.
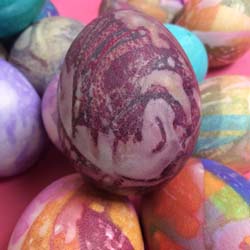
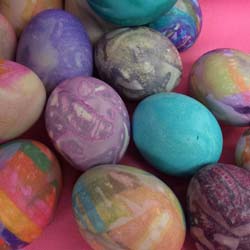
Step 5. Carefully place wrapped eggs in water and bring to a boil. Reduce to simmer and time for 20 minutes. As my eggs boiled, the water became a deep purple. I was worried they were just all going to be one color, but as you see they each turned out uniquely different.
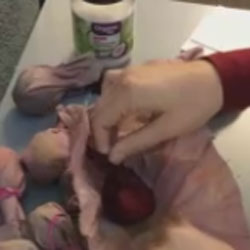
Step 6. Drain water and cool wrapped eggs. Carefully unwrap the eggs - your kids will be amazed.
Step 7. Rub with oil for shine and display.