Fabric Blinds Curtain Rods Window Treatments Trims & Tassels Wallpaper
1-800-590-5844
How To Add Decorative Nail Heads to a Wooden Shelf
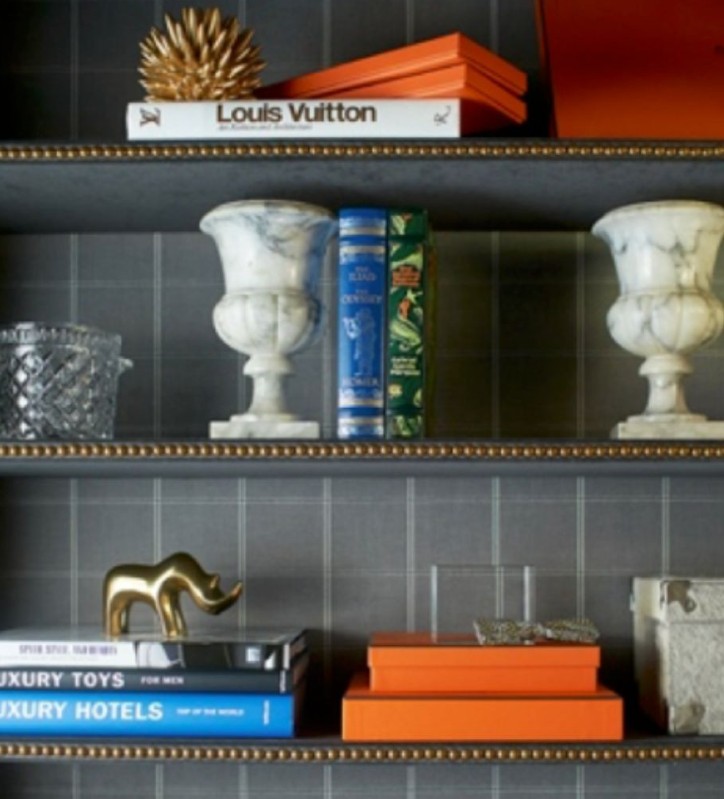 If your shelves feel a little plain, adding decorative nail heads along the front edge is an easy way to give them character and warmth. This small detail can transform a basic wooden shelf into a custom, designer-style feature.
Here’s how to do it:
What You’ll Need:- Decorative nail heads (also called upholstery tacks or trim nails)
- Hammer or rubber mallet
- Measuring tape
- Pencil
- Straight edge or ruler
Step 1: Choose Your Nail Heads
Select a style and finish that complements your space. Brass and bronze tones bring warmth, while black or nickel adds a sleek, modern touch.
Step 2: Plan Your Placement
Measure the length of the shelf’s front edge with the measuring tape. Decide whether you want the nail heads evenly spaced across the length or grouped at the corners. Using your ruler, mark light pencil dots as guides to keep the spacing uniform.
Step 3: Install the Nail Heads
Align the nail head with your guide mark. Using a hammer or rubber mallet, gently tap it into place. If your shelf is made of a hard wood, you may want to create a shallow starter hole with a small drill bit to prevent bending the nail.
Step 4: Finish the Look
Continue down the edge, following your guide marks until the entire row is complete. Step back and make sure the line looks straight and evenly spaced.
The Result
With just a few tools and a little patience, you’ve given your shelf a custom upgrade. The metallic accents catch the light, creating visual interest while adding a handcrafted, cozy feel to your space.
Shop Decorative Nail Heads
More options here - call us for pricing >